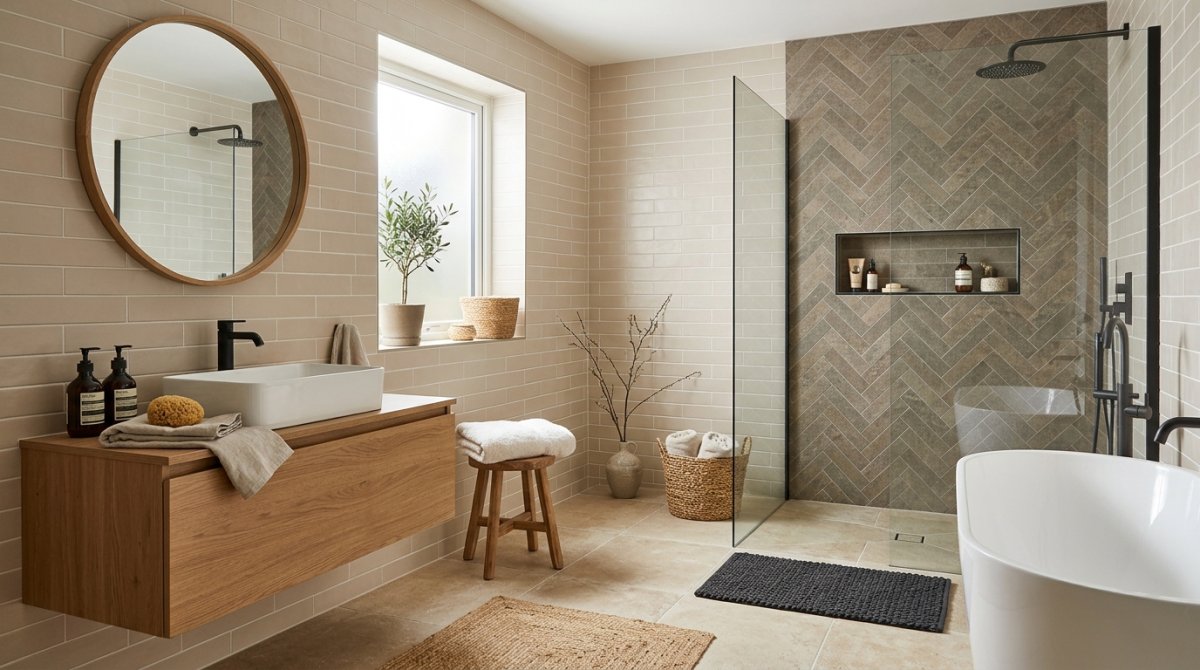
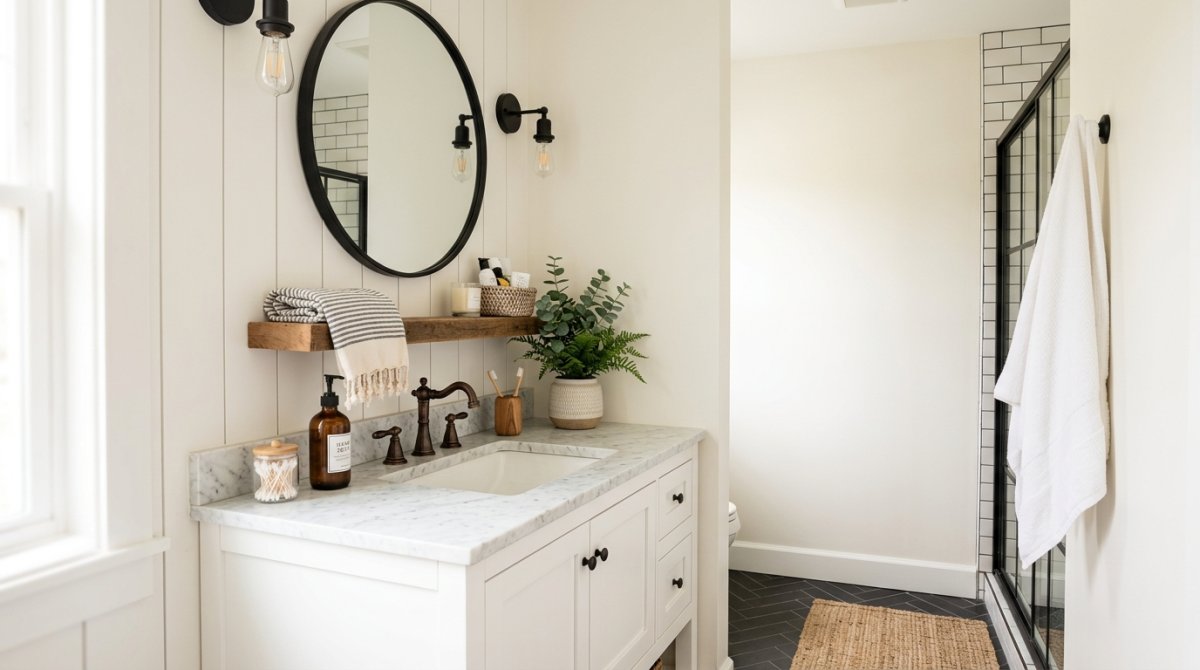
My bathroom looked like a hospital waiting room. You know that vibe—sad beige walls, a mirror that’s just a flat sheet of glass, and lighting that makes you look ten years older than you actually are. I couldn’t take it anymore.
I had exactly $400 in my “house stuff” jar and a Saturday morning with nothing to do. Most people told me I couldn’t get that Modern Farmhouse look without spending thousands on a new vanity. They were wrong.
But I also made some dumb mistakes. Like, really dumb. This is exactly how I stretched my cash and which parts of the project I’d skip if I could go back in time.
My $400 Budget Was Honestly Too Low
I’m going to be real with you—$400 is tight. Like, “checking the couch cushions for quarters” tight. I thought I could buy everything at the big box stores and call it a day.
Nope.
If you want to pull this off, you have to be annoying about prices. I spent two hours comparing the price of sanding sponges. Ridiculous, right? But those five-dollar wins are the only reason I didn’t end up with a half-finished room and a maxed-out credit card.
Painting the Vanity My Secret Gray-Black Shade
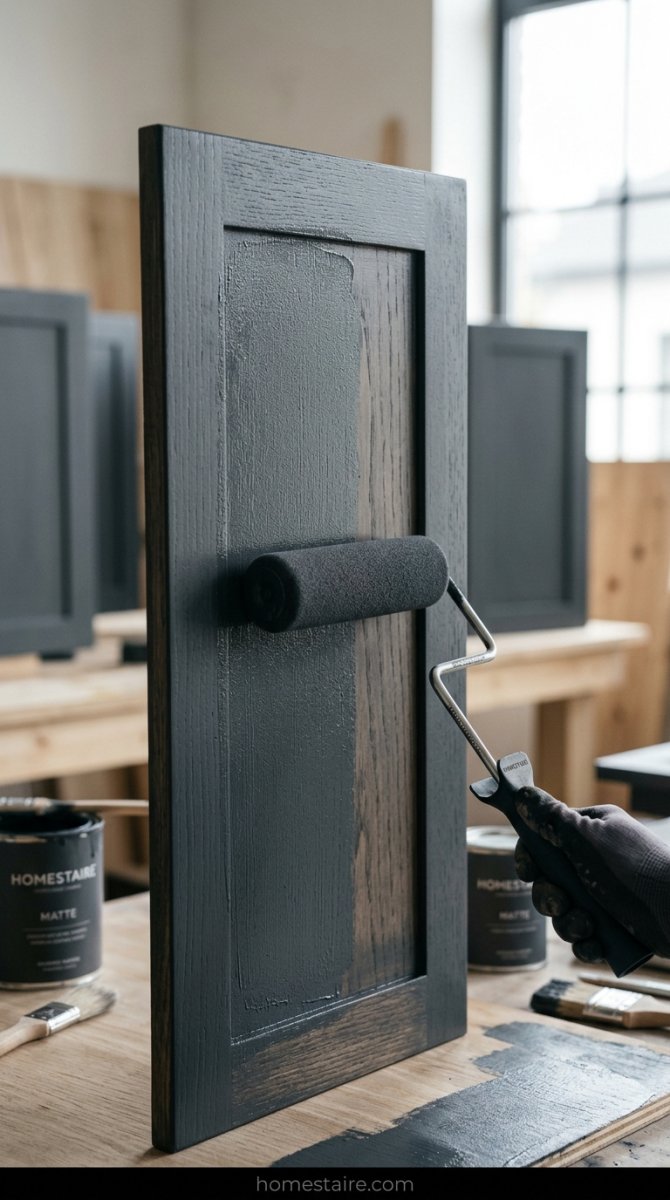
I refused to buy a new vanity. The one I have is solid wood but it was a gross “honey oak” color that screamed 1998.
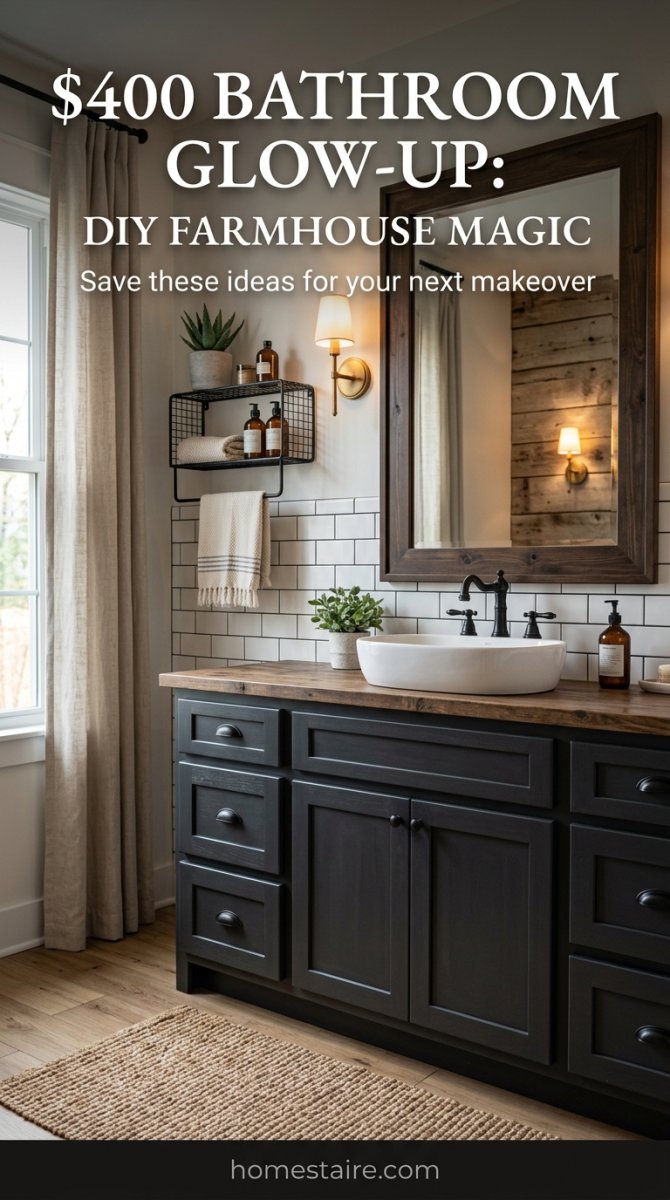
I used Sherwin Williams Iron Ore. It’s not quite black, but it’s definitely not a boring gray. It’s moody. It hides the toothpaste fingerprints my kids leave behind.
Pro tip: Use a foam roller. If you use a brush, you’ll see every single stroke and it’ll look like a DIY project gone wrong. I wanted it to look like I spent $1,200 at a high-end boutique.
I didn’t even strip the old finish. I just did a quick scuff sand and went for it. (Don’t tell the “real” contractors that, they’ll have a heart attack).
The Hardware Swap That Saved $80
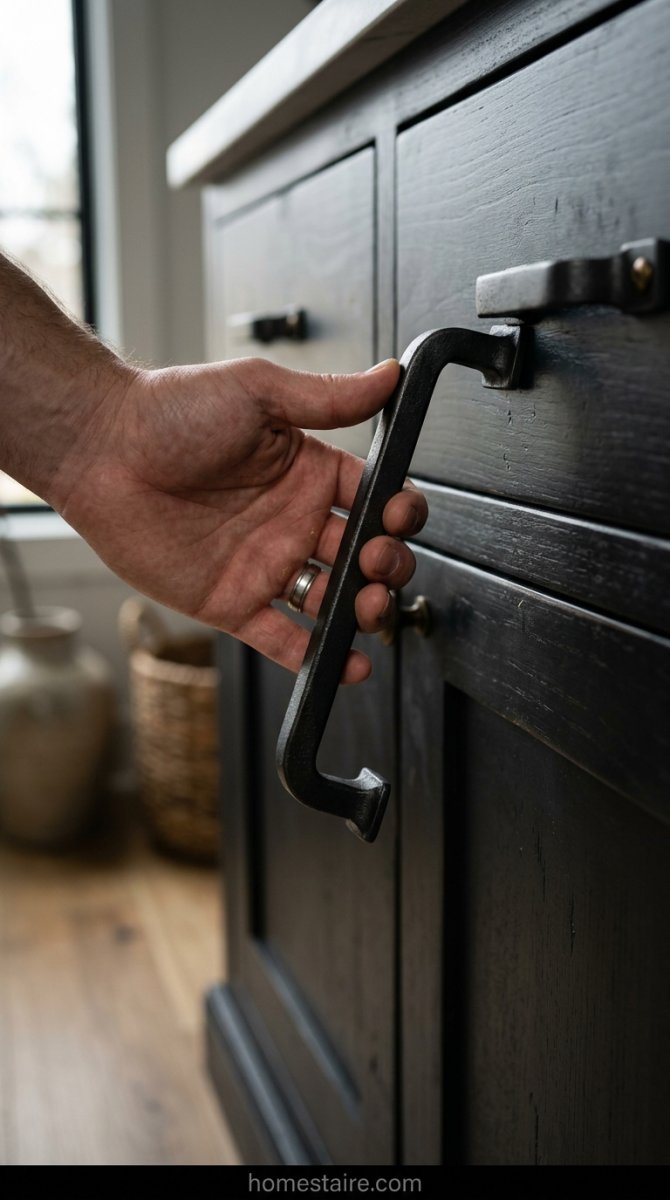
Lowe’s wanted $12 for a single matte black handle. Twelve dollars! I have eight drawers. My math isn’t great, but even I knew that was going to eat my entire budget.
I went on Amazon and found a 10-pack of heavy, solid steel pulls for $22.
They feel heavy. They don’t wiggle. They transformed the whole look of the vanity for the price of a takeout pizza. Always check the “generic” brands for hardware—it’s literally just metal.
Why I’ll Never Use Peel and Stick Tile Ever Again
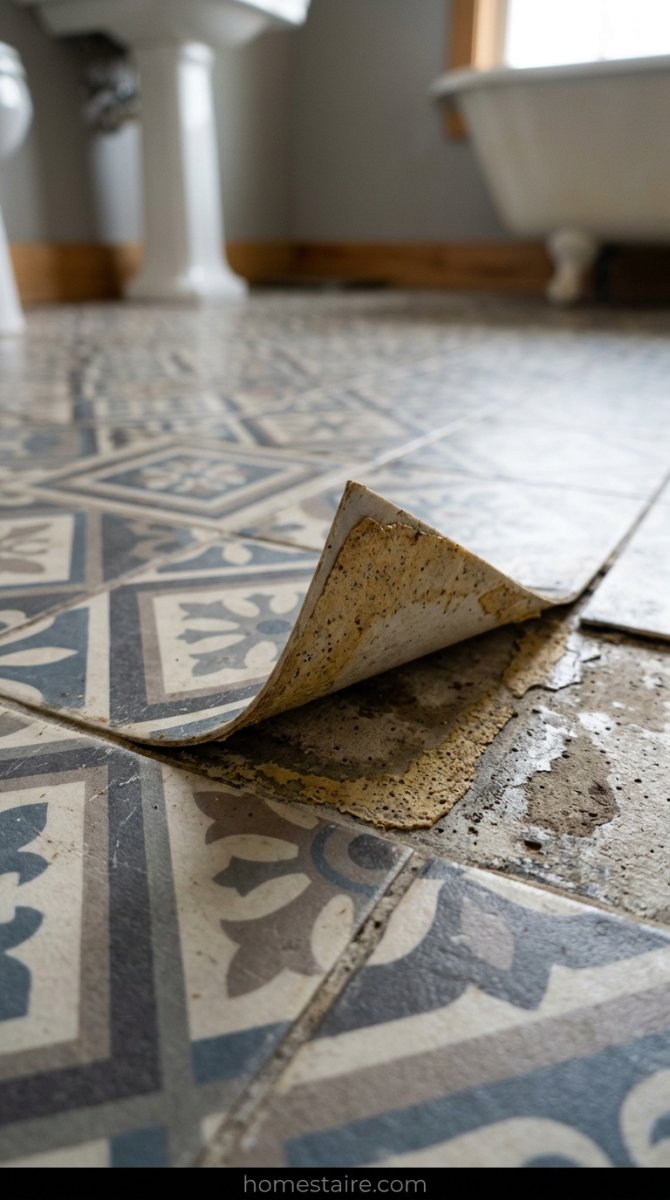
This is where things got ugly. I saw those “easy” peel and stick floor tiles on TikTok and thought I was a genius.
I wasn’t.
Three days after I finished, the edges started curling up like burnt toast. Turns out, if you have a bathroom with any kind of humidity—which is, you know, every bathroom—the glue just gives up on life.
I spent four hours on my hands and knees scrubbing gray goo off my subfloor. It was a disaster. If you’re thinking about doing it, just don’t. Paint the floor or save up for real tile. Seriously. Save yourself the tears.
Fixing My Boring Builder Grade Mirror
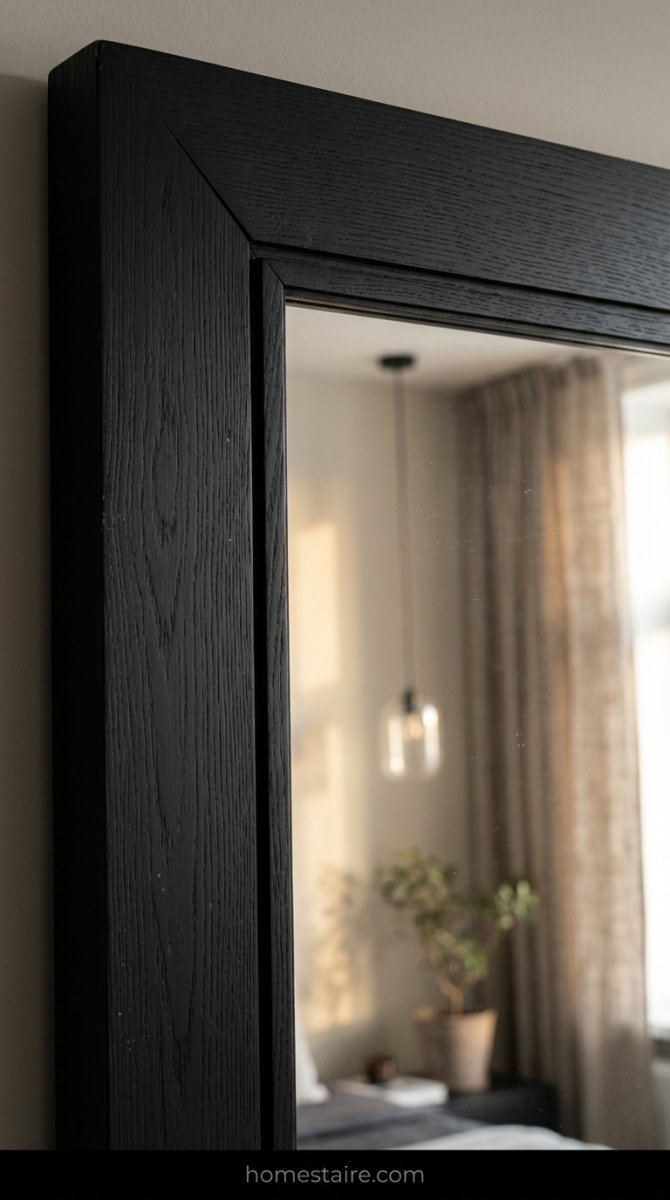
I stared at that massive, frameless glass sheet for three hours. It looked like a gym locker room. I didn’t want to rip it off and deal with the drywall carnage underneath—trust me, you don’t want that smoke—so I went the DIY frame route.
I bought some $12 pine lattice strips and a miter box. I cut the corners at 45-degree angles, which was a total pain because my floors aren’t level. (Newsflash: no house is actually level). I spray-painted the wood black and glued it directly onto the glass with heavy-duty construction adhesive.
It looks like a $400 custom mirror now. Just don’t look too closely at the bottom left corner where I definitely over-sanded the wood.
I Swapped the Light Fixture and Almost Cried
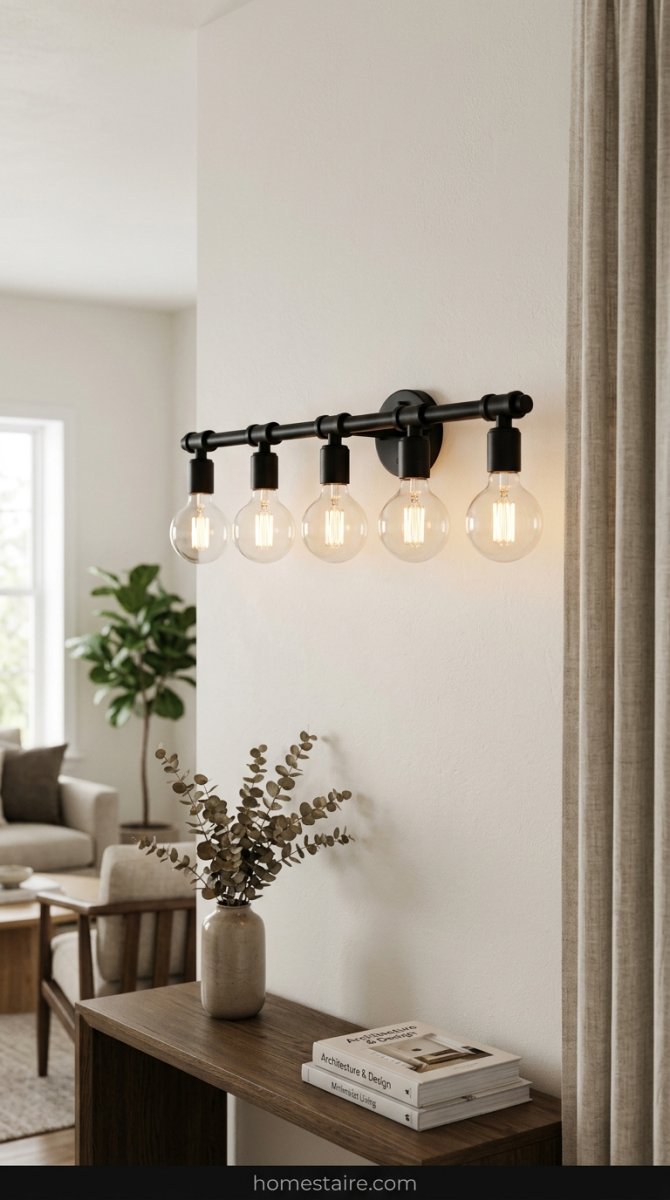
Electrical work is a nightmare if your house was built by someone who hated logic. I thought this would be a 20-minute swap. I was wrong.
My wires were about two inches too short to reach the new matte black fixture. I was standing on the toilet—precariously, I might add—trying to twist wire nuts while sweat dripped into my eyes. I nearly threw the whole thing across the room.
Why did I do this? Because the old fixture had these ’80s frosted glass shades that looked like upside-down yogurt cups. The new one changed the whole vibe, but man, my neck hurt for three days after that struggle.
Modern Farmhouse Bathroom Decor That Doesn’t Look Cheap
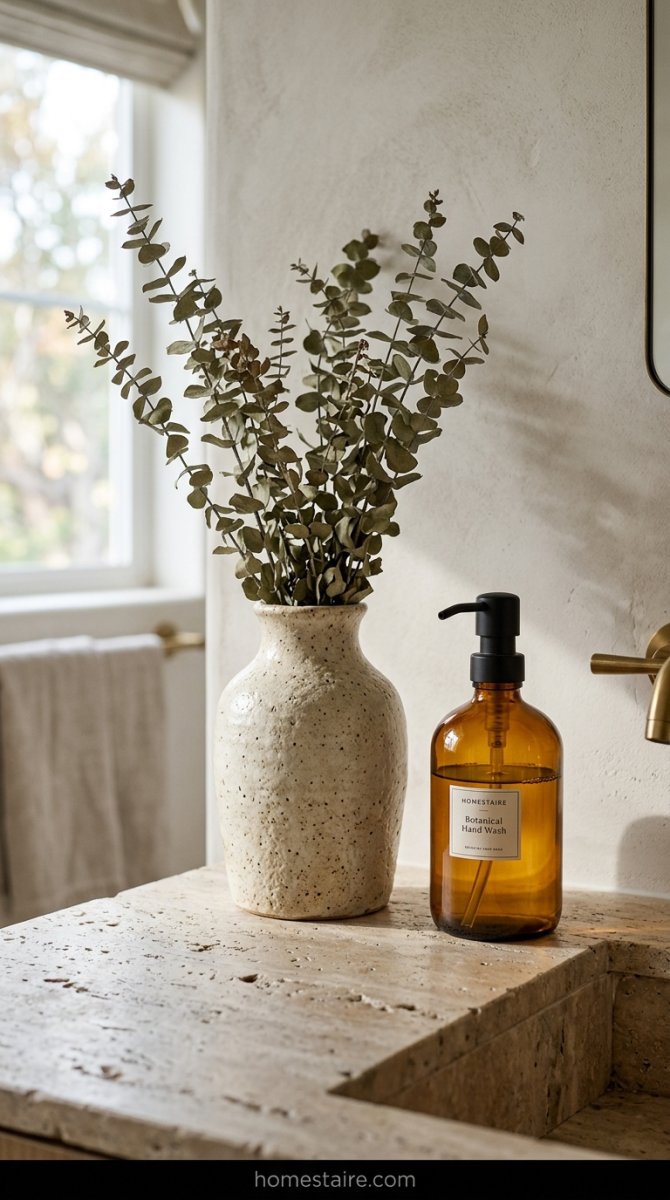
Stop buying signs that say “Wash” or “Soak.” You know what the room is for. I promise.
To keep things from looking like a clearance aisle at a craft store, I focused on weight and texture. I found a chunky amber glass soap dispenser at a thrift shop for $2. It feels heavy and expensive. I also shoved a bunch of dried eucalyptus into a ceramic vase I already had in my kitchen.
Plastic is the enemy. If it’s shiny and plastic, it’s going to look tacky next to your new “farmhouse” finishes. Wood, glass, and stone—that’s the move.
The Matte Black Faucet Struggle is Real
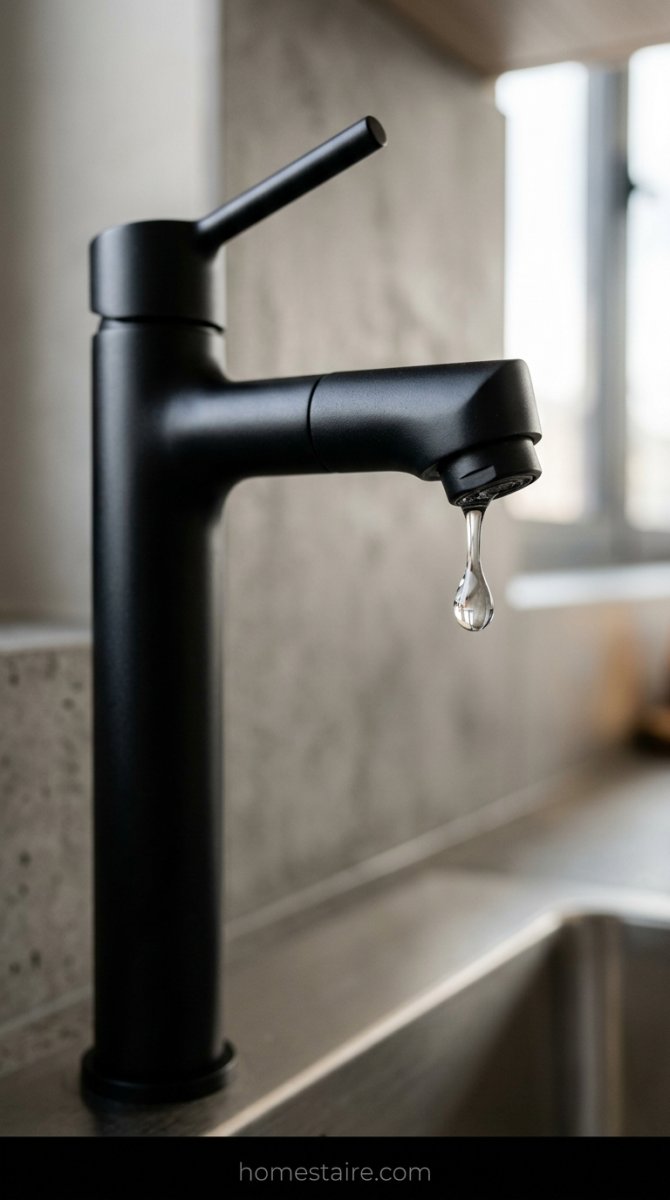
I love the way black hardware looks against a white sink. I really do. But the water spots? They are a full-time job.
Every single drop of water leaves a white, crusty ring on this faucet. I find myself wiping it down with my hand or a towel every single time I wash my hands. It’s an obsession I didn’t ask for.
Was it worth the $45 I spent on Amazon? Yes, because the old chrome faucet was pitted and gross. But if you hate cleaning, maybe stick to brushed nickel. You’ve been warned.
Rugs and Towels: The Finish Line Spend
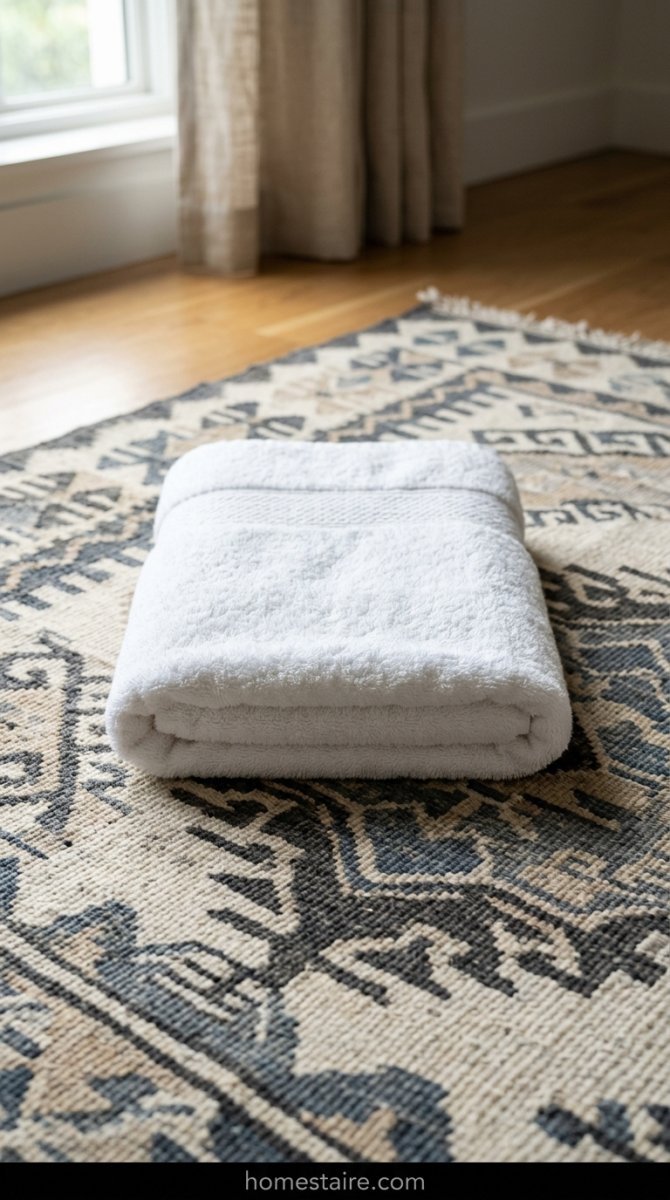
I had exactly $34 left in the budget at this point. I didn’t go for those fuzzy, shaggy bathroom mats that stay soggy for hours and eventually smell like a wet dog.
Instead, I hunted down a small, flat-weave Turkish rug. It’s thin, it dries in ten minutes, and it actually stays put. It adds a bit of “old world” texture that balances out all the sharp black lines I added everywhere else.
I also ditched my mismatched towels for two—just two—thick white ones. White towels make the space feel like a fancy hotel even when my toddler has smeared toothpaste on the baseboards five feet away. One nice rug and two fresh towels. That’s all you need.
The One Mistake I’ll Still Regret in 2025
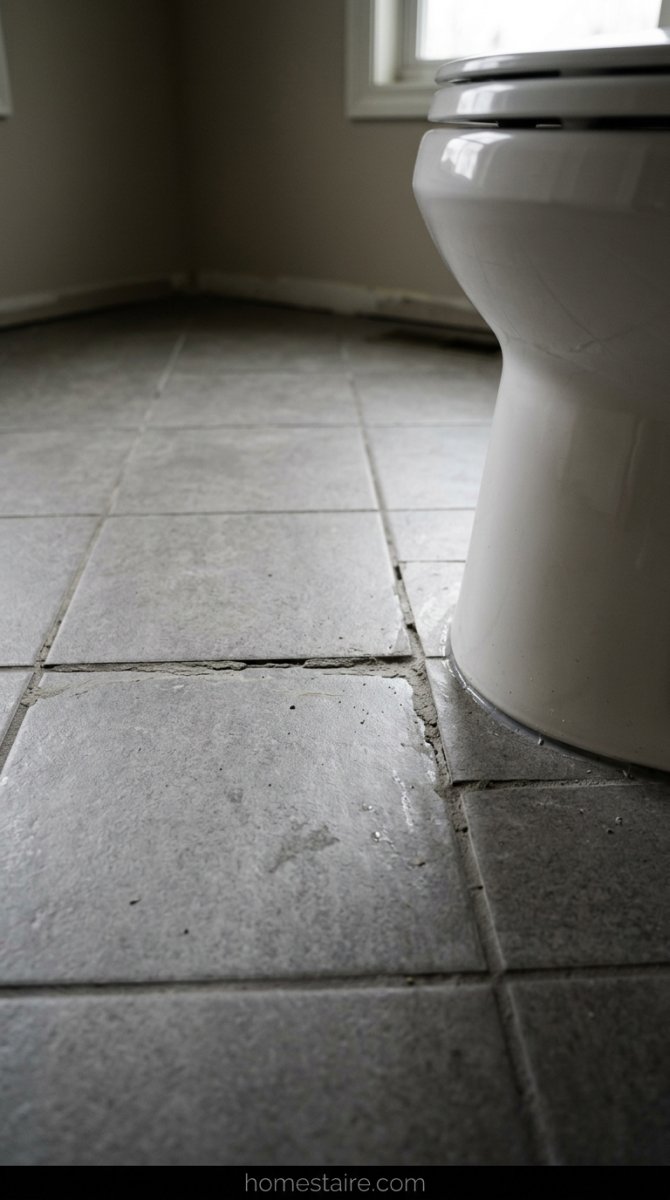
I didn’t level the subfloor before slapping those vinyl tiles down. I thought a tiny 1/8-inch dip near the toilet wouldn’t matter—I was dead wrong. By the time 2025 rolls around, those tiles are going to be lifting and trapping every single piece of dust and cat hair in the house.
It’s a nightmare.
The floor feels “crunchy” when I step on it. Not a good crunch like a fresh leaf. A “you ruined your house” kind of crunch. I saved $40 on floor leveler and I’ll end up spending $1,000 to rip it all out when it inevitably fails. Seriously. If you see a bump in your floor, fix it before you glue anything to it.
Conclusion
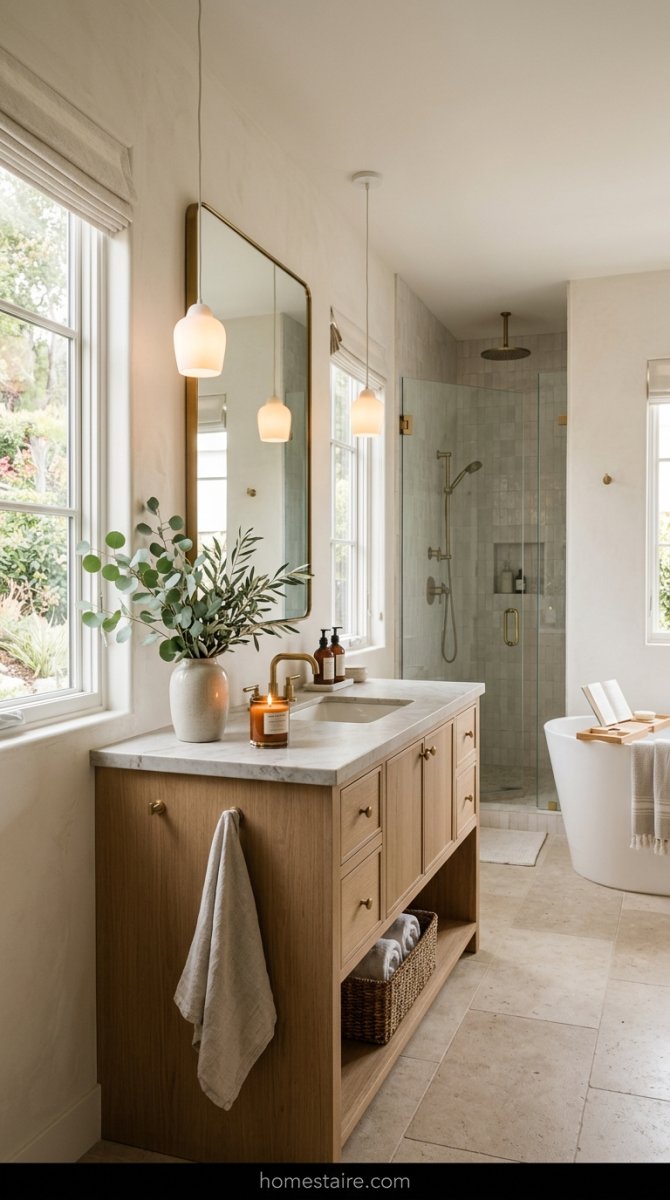
Was it worth the $400? Yeah, mostly. My bathroom doesn’t look like a beige prison anymore. It looks like a Pinterest board had a baby with a hardware store clearance rack.
It’s not perfect.
If you have a weekend and a few hundred bucks, go for it. Just please—for the love of everything—buy the good caulk. The cheap stuff turns yellow in six months and looks like old teeth. You’ve been warned. Use the leftover money for a nice candle to hide the smell of the paint you just spilled.