
I spent three years staring at a laundry room that felt like a sad closet. The walls were that weird, off-white “landlord special” color that seems to soak up every bit of gloom. I wanted a change, but I’m messy. I’m the kind of person who spills coffee on a white shirt five minutes before a meeting.
Taking on a wallpaper project felt like asking for trouble.
But I did it anyway. And honestly? It didn’t suck as much as I thought it would. My tiny dungeon actually looks like a real room now, and I didn’t even end up glued to the floor.
Pick a Laundry Room Wallpaper That Hides Your Future Mistakes

Avoid solids or straight lines. Seriously.
My house was built in the 70s, which means not a single corner is actually square. If you pick a geometric pattern or a simple stripe, you’re going to spend six hours crying because the lines won’t line up. It’s a losing battle.
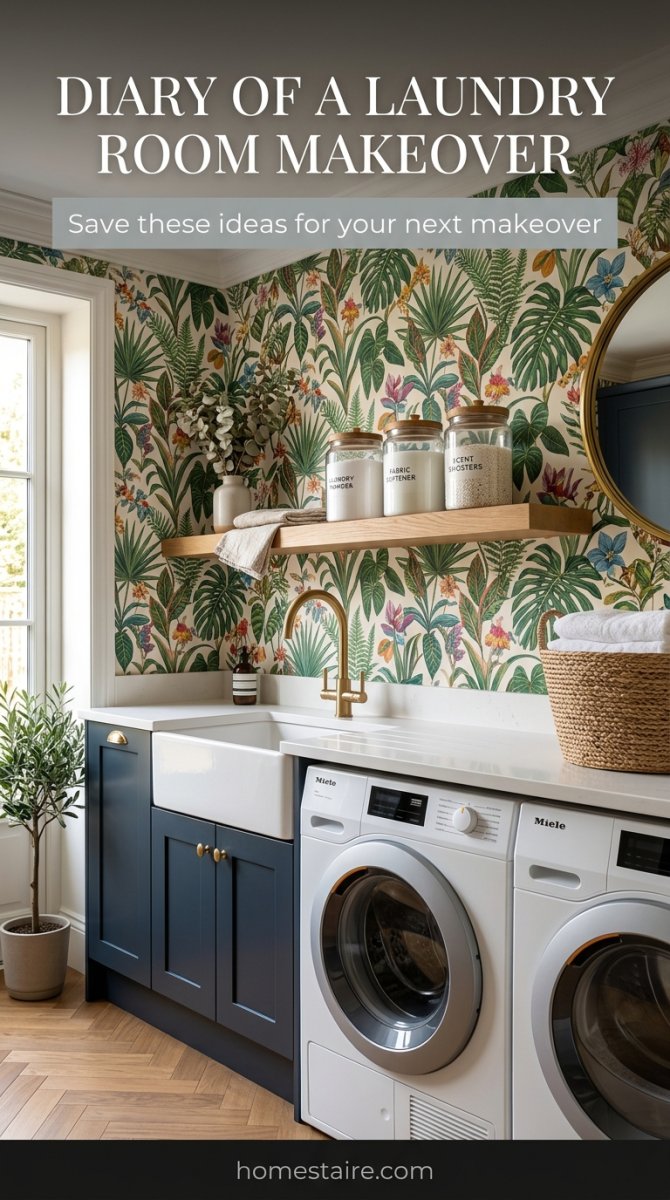
Go for something loud and chaotic. I chose a busy botanical print with big leaves and clashing colors. This is the “camo” of the DIY world. If I accidentally overlapped a seam by a few millimeters or had to patch a tiny hole with a scrap piece, nobody could tell. It just blends into the floral madness.
Clean the Walls Like You Actually Mean It
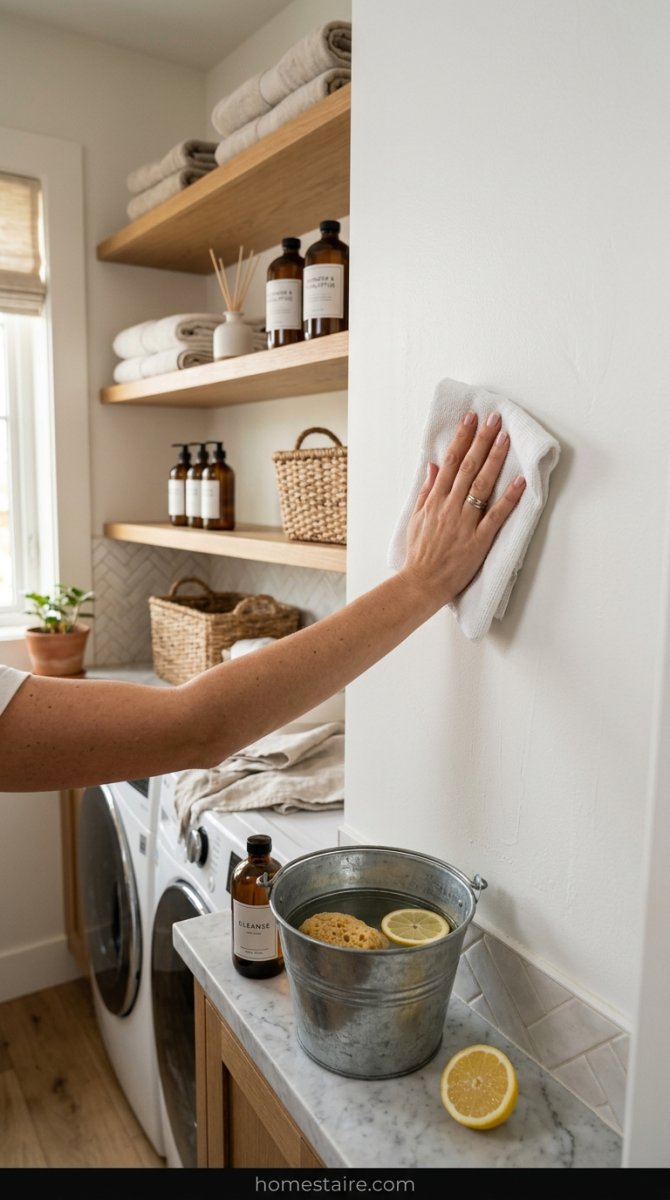
You think your walls are clean? They aren’t.
My laundry room was a secret graveyard for lint and cat hair. I wiped the walls down with a damp cloth and the rag came back looking like it had been through a coal mine. If you skip this part, your expensive paper is just going to slide right off the wall three days later.
I used a mix of warm water and a little splash of vinegar. Scrub the baseboards too. You don’t want a stray piece of dog hair jumping onto the sticky back of your wallpaper right as you’re trying to level it. Let the walls dry until they are bone-dry. Don’t be impatient.
Go watch an episode of something while you wait.
Buy a Third More Paper Than You Planned
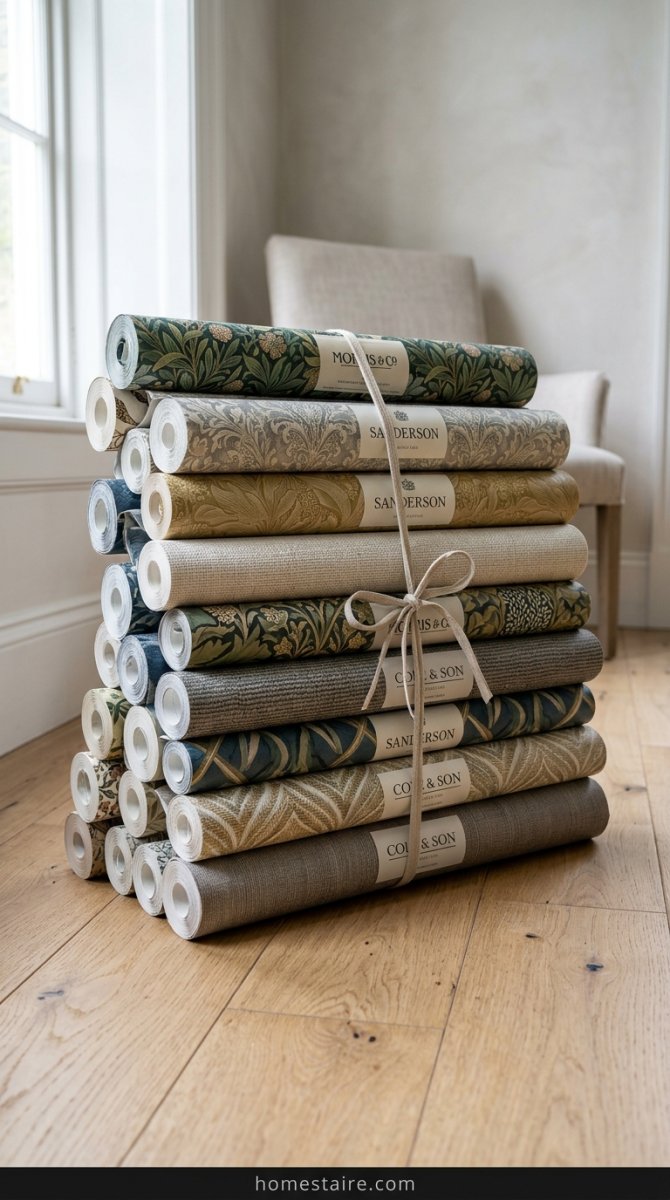
I felt like a genius for buying an extra roll until I sliced through a whole panel by accident.
You will mess up. It’s a law of nature. I wasted about 15 feet of paper just trying to match the pattern repeat from one wall to the next. It’s soul-crushing to see those scraps on the floor, but it’s worse to run out.
If I hadn’t bought 30% more than the “online calculator” told me to, I would’ve been stuck with a half-finished wall for three weeks while waiting for shipping. Just buy the extra. Your sanity is worth the twenty bucks.
Stick with Peel and Stick for This Small Space
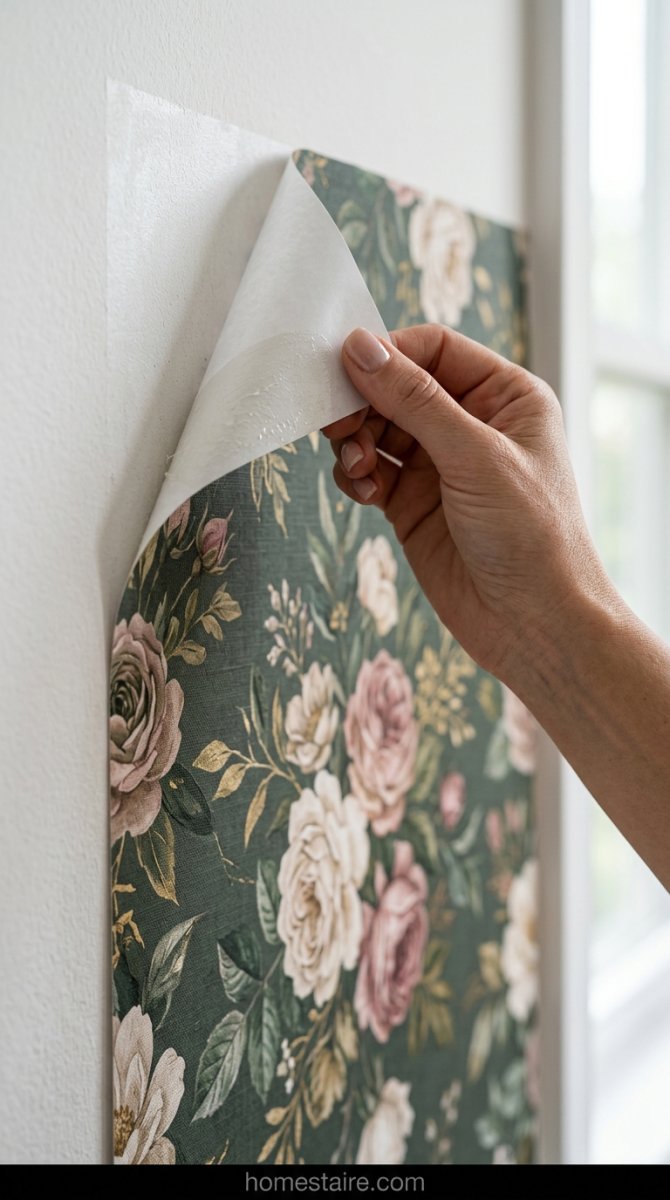
Traditional wallpaper requires a table, a bucket of goop, and a lot of patience I simply don’t have.
In a tiny laundry room, you’re basically acting like a human pretzel. You’re squeezed between the dryer and the wall, trying to reach a corner without knocking over the detergent. Adding wet glue to that mix is just asking for a disaster.
I went with peel and stick because it’s basically just a giant sticker for adults. If it looks wonky, you just yank it off and try again. It’s way less stressful. Plus, if I hate it in two years, I can just rip it down in ten minutes without ruining the drywall.
Just Push the Washer Out of the Way Already
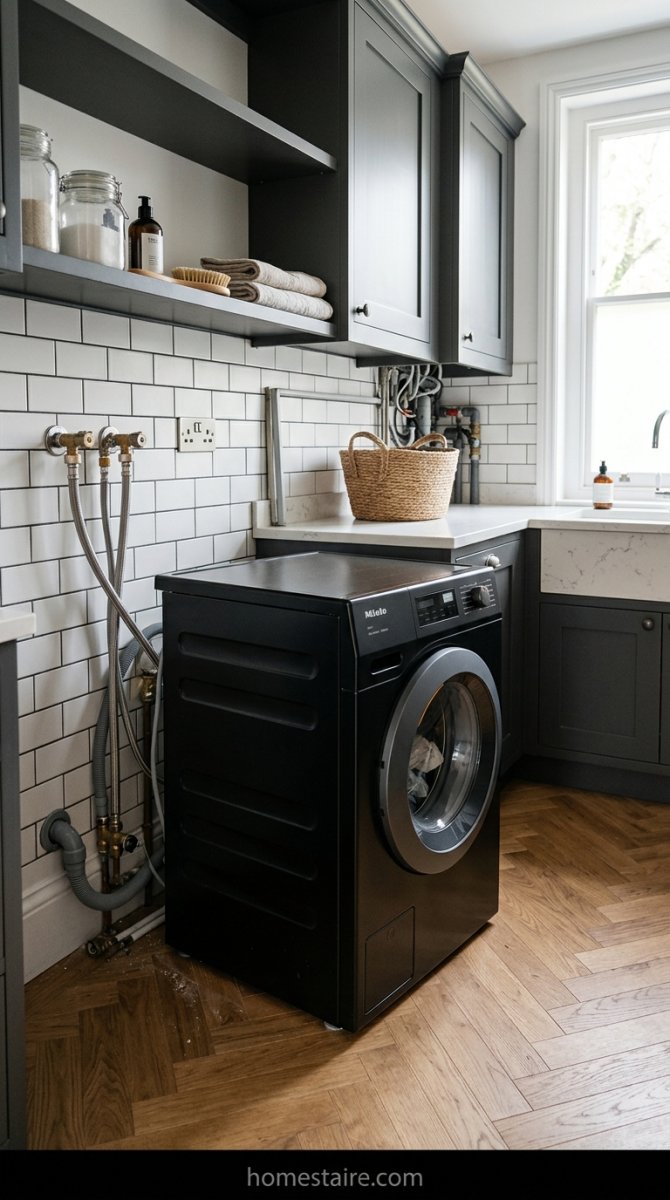
I thought I could just lean over the dryer and reach the back wall. Big mistake. I ended up with a massive bruise on my ribs and a piece of sticky paper stuck to my hair—my husband actually had to help peel me off the wall.
Seriously. Just unplug the machines and slide them out into the hallway. If you have those plastic furniture sliders, use them. If not, just wiggle the thing back and forth until you have enough room to actually stand on the floor. You need that space to move your arms or you’re going to end up with crooked panels and a very bad mood.
Start Hiding the Seams in the Darkest Corner
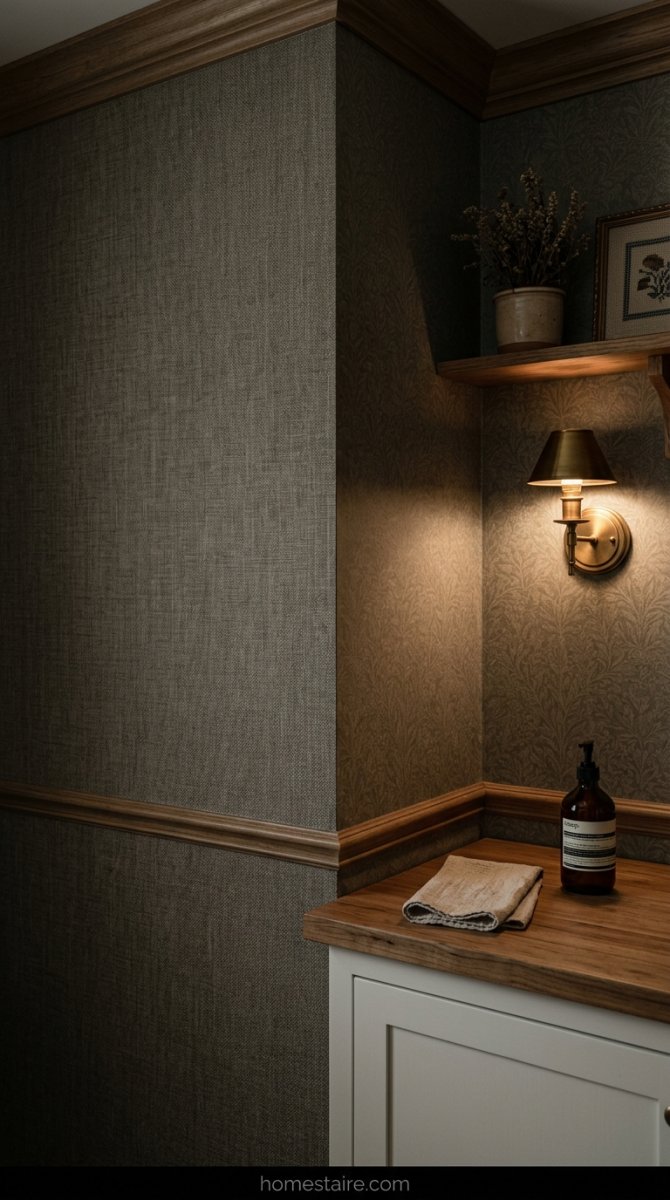
Every room has that one corner that’s basically a black hole. In my laundry room, it’s the spot behind the door where I hide the vacuum and the mop bucket. That’s exactly where your first strip of wallpaper needs to go.
Why? Because your first piece is going to be your worst piece—I’m just being honest here. If the pattern doesn’t line up perfectly or the edge is a little wonky, nobody is ever going to see it behind the broom. I learned this the hard way in my guest bathroom and now I have to stare at a half-inch gap every time I use the toilet.
Don’t be like me. Start where it’s dark.
A Plastic Squeegee is Your New Best Friend
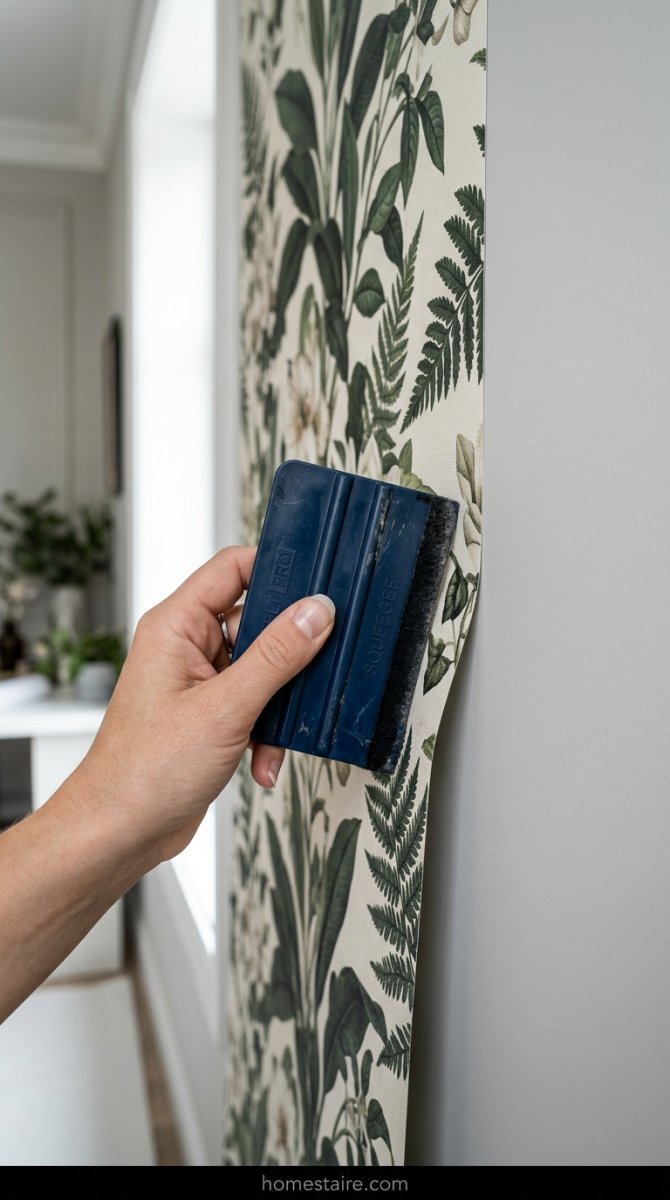
You’ll be tempted to use an old credit card or just your palms to smooth things out as you go. Stop that.
Your hands are oily and a credit card is too sharp—I actually sliced right through a expensive roll of floral print because I was being impatient. Get a cheap plastic squeegee. It glides over the paper without scratching the ink off. If you see a bubble, don’t just try to mash it flat; lift the paper back up and squeegee it down again from the center out.
It’s weirdly satisfying.
Dealing with Pipes and Those Annoying Plugs

Looking at the water valves for the washer made me want to quit and go get a taco. It’s a literal mess of hoses and metal boxes sticking out of the drywall.
I found that cutting a small “X” shape right where the pipe hits the wall is the only way to keep your sanity. Don’t try to measure a perfect circle with a ruler—it never works. Just feel for the pipe through the paper, poke a hole, and cut that X. Slide the paper over the pipe and then trim the little triangles of excess paper away.
The washer hides the ugly bits anyway.
Toss the Blades Early and Often for Clean Cuts
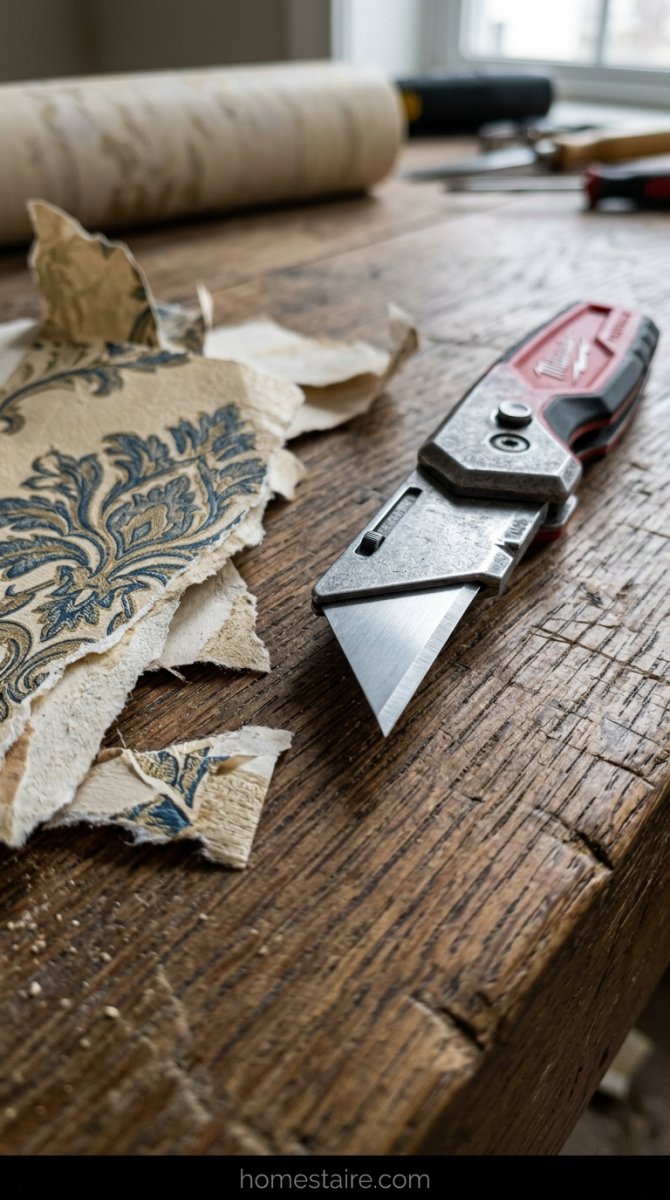
I used to be so cheap with utility knife blades. I’d try to do a whole wall with one single edge. That’s how you end up with jagged, chewed-up wallpaper edges that look like a toddler went at them with craft scissors.
Snap off the blade every two or three strips.
Seriously. It feels wasteful, but it’s the only way to get a clean slice along the baseboard or the ceiling. If you feel even a tiny bit of “tug” when you’re cutting, the blade is already dull. Swap it out immediately.
Gather the Sticky Mess Before the Dog Finds It
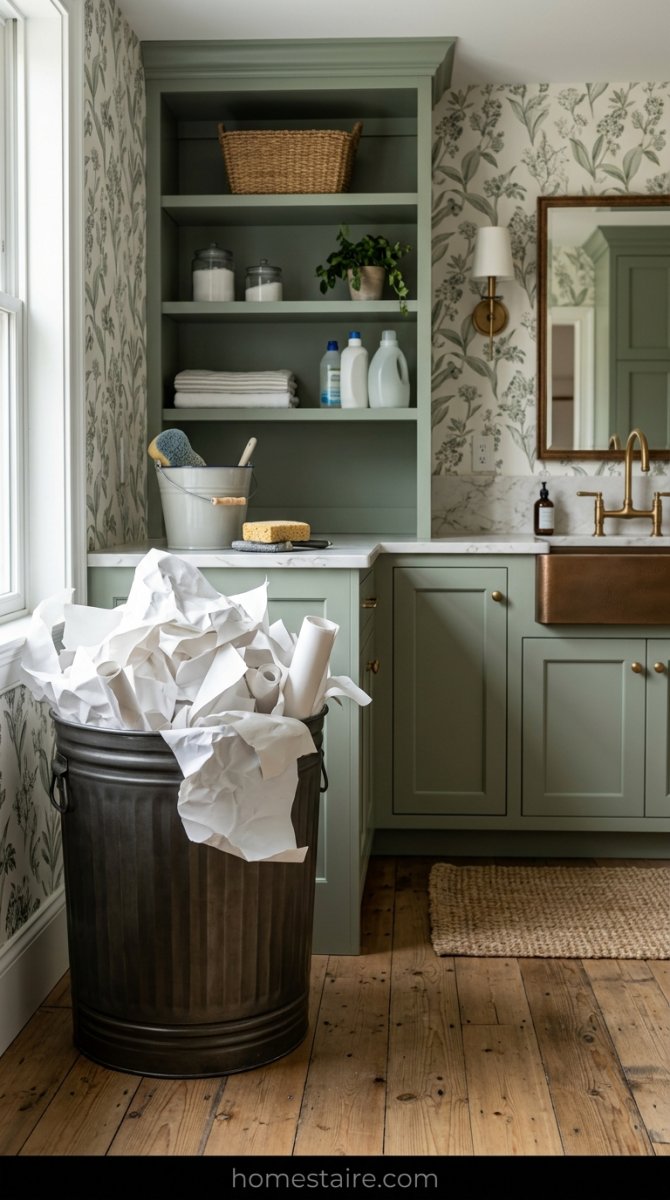
That wax paper backing is pure evil once it hits the floor. I let one long strip drift toward the tiles and my Golden Retriever, Cooper, did a sliding tackle right into the middle of it. He spent ten minutes trying to shake that sticky mess off his tail while I scrambled to grab the rest before it turned into a total disaster. Keep a giant trash bag open right at your feet—no excuses. Every time you peel a section, shove that backing straight into the bag. Don’t let it touch the ground. Once it’s down, it basically becomes part of your house’s permanent architecture.
Seriously.
The scraps are even worse—those tiny, jagged slivers of sticky vinyl will migrate to every single room you own. I’m still finding floral-patterned bits stuck to the bottom of my slippers three weeks after finishing the job. It’s like glitter, but worse because it’s actually meant to stay put.
Conclusion

My laundry room used to feel like a windowless dungeon where socks went to die. Now? It’s actually a place I don’t mind hanging out in while I’m digging through a mountain of wet towels. I probably cursed ten times trying to get that one corner behind the dryer right, but it beats looking at dented, beige drywall any day of the week. If you’re sitting there wondering if you’ll mess it up, you probably will—a little bit. But nobody except you is going to see that one tiny bubble near the floorboards.
Except maybe the dog.
Stop overthinking the “perfect” layout and just start sticking paper to the wall already. Your future self—the one staring at the wall during a Tuesday night wash cycle—will be glad you finally pulled the trigger.