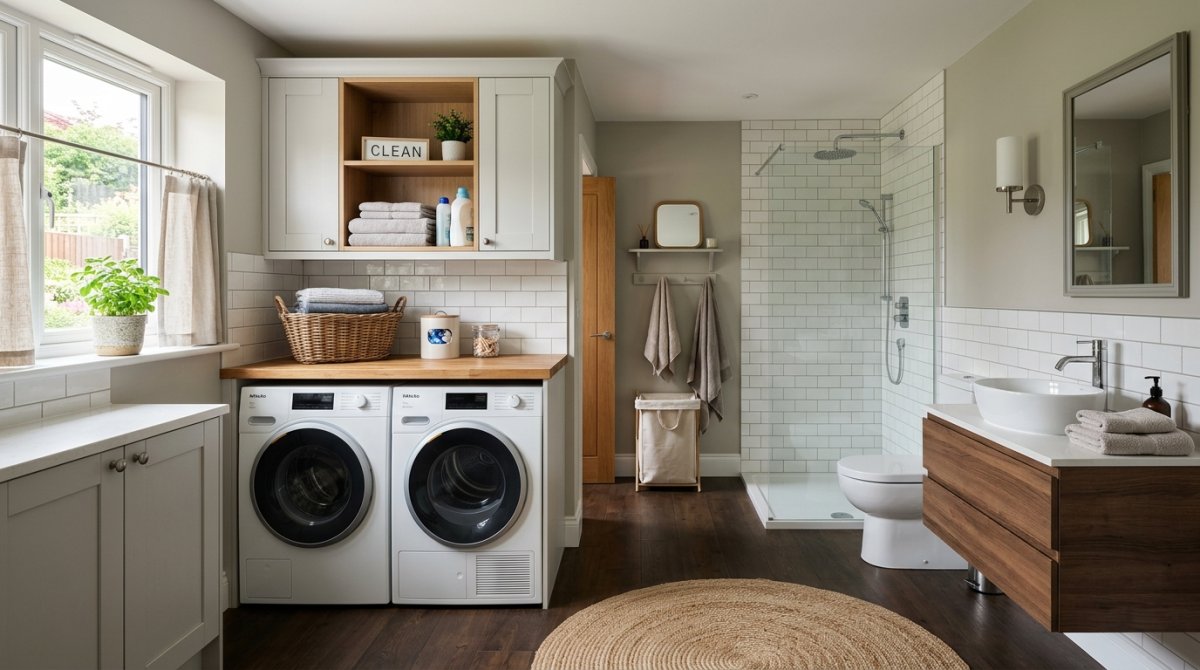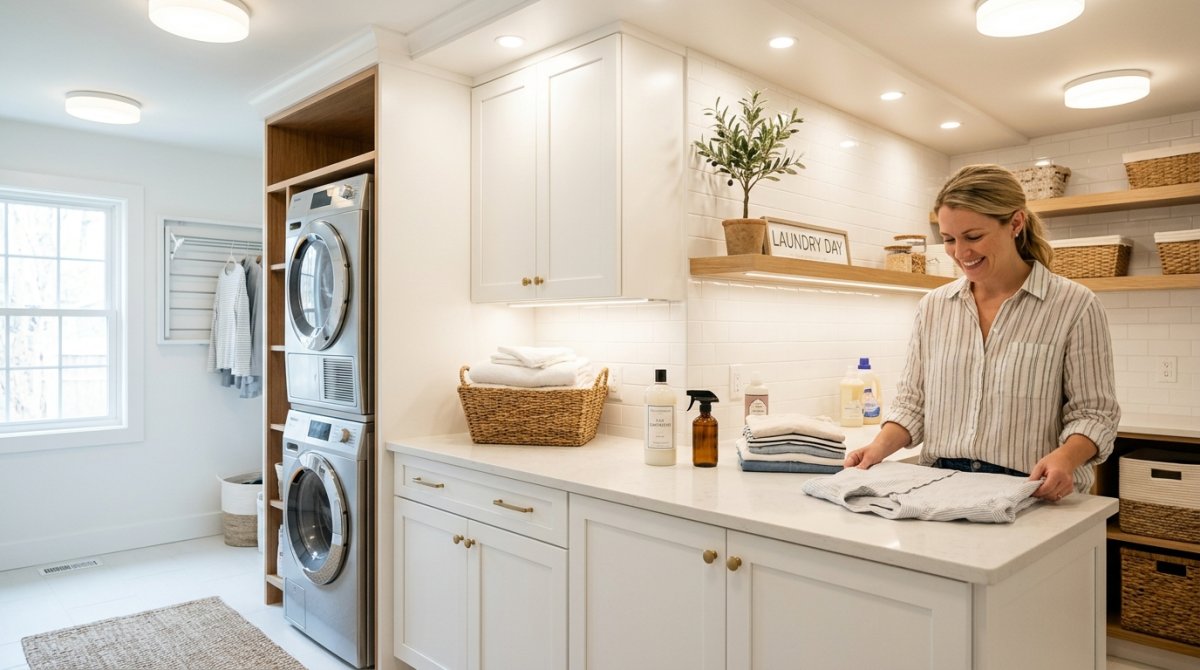

My laundry room used to be a total disaster zone. I’m talking piles of mismatched socks, sticky detergent rings on every surface, and a vibe that made me want to lock the door and never come back. It was a dark, cramped cave that sucked the life out of me every Sunday.
I finally reached my breaking point after tripping over a rogue bottle of bleach for the tenth time. I didn’t have thousands of dollars to blow on a “Pinterest-perfect” renovation, so I had to get scrappy.
These ideas aren’t about spending a fortune. They’re about making a tiny, annoying room actually work for you—without making your bank account cry.
1. Scavenging Facebook Marketplace for Old Kitchen Units
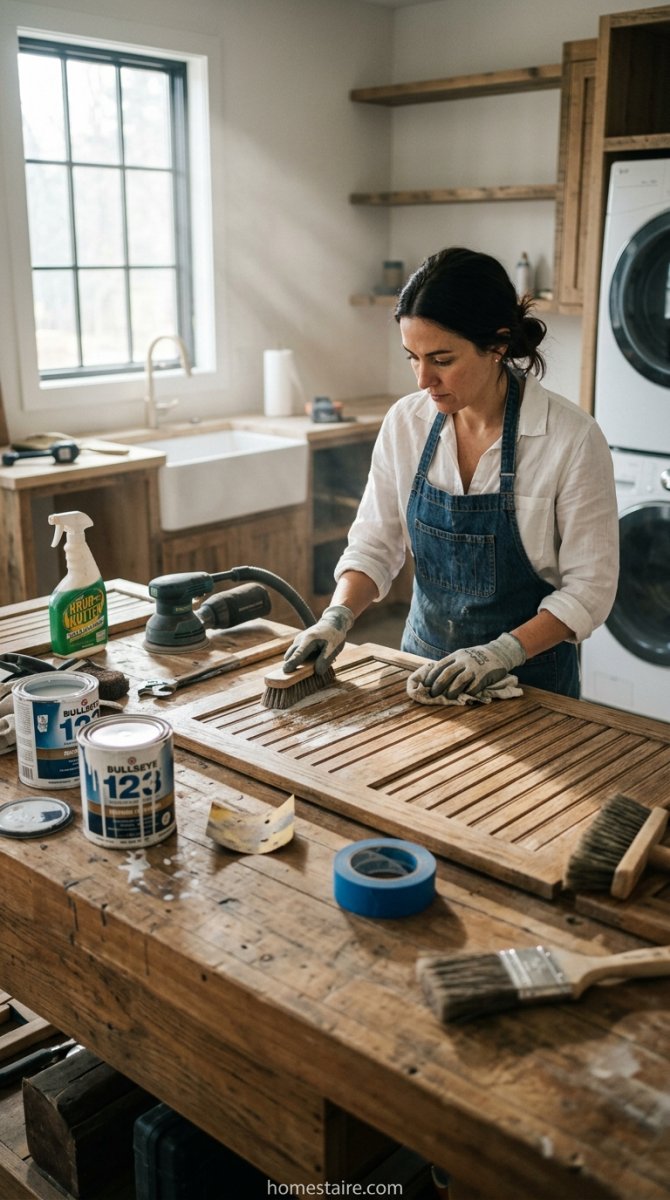
Stop looking at brand-new cabinets at the big-box stores. They are a total rip-off and usually made of cheap particle board that swells up the second it gets damp. I spent two weeks obsessively refreshing my phone until I found a guy three towns over giving away “ugly” oak kitchen uppers for fifty bucks.
They were covered in 1990s grease and smelled faintly of fried onions. Gross, I know. But after a solid scrub and some heavy-duty primer, they looked brand new.
Marketplace is a goldmine for people doing kitchen renos who just want their old stuff gone yesterday. Just make sure you measure your car before you show up—I learned that one the hard way while trying to shove a 36-inch base cabinet into a Prius.
2. Why I Ditched Uppers for Chunky Wood Shelves
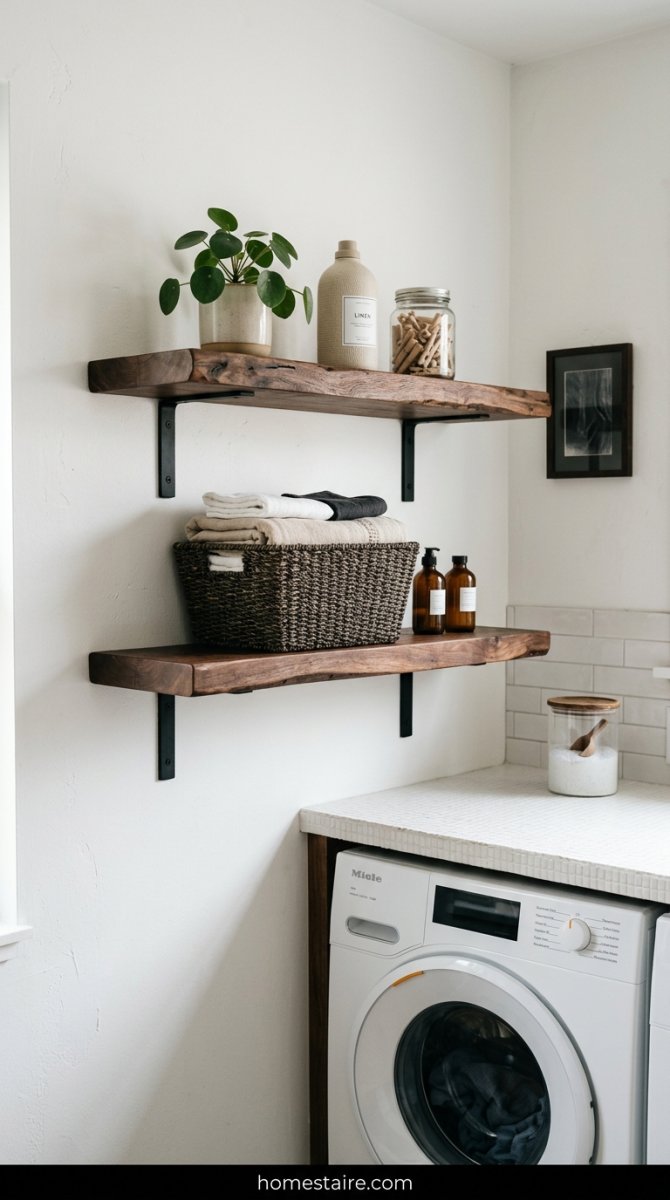
I had this grand vision of floor-to-ceiling cabinets, but then I realized my laundry room is about the size of a postage stamp. Adding big, bulky upper boxes made the whole place feel like a coffin.
I pivoted. I went to a local lumber yard and grabbed some thick pine slabs instead.
I stained them a dark walnut color and used some cheap iron brackets I found online. It cost me maybe sixty bucks total. Now I can actually see where the stain remover is without digging through a dark cupboard—and I stopped hitting my forehead on cabinet doors every time I bent over the dryer.
Seriously. Open shelving is a sanity-saver for small spaces.
3. Fitting a Skinny Pantry Tower in that Weird Gap
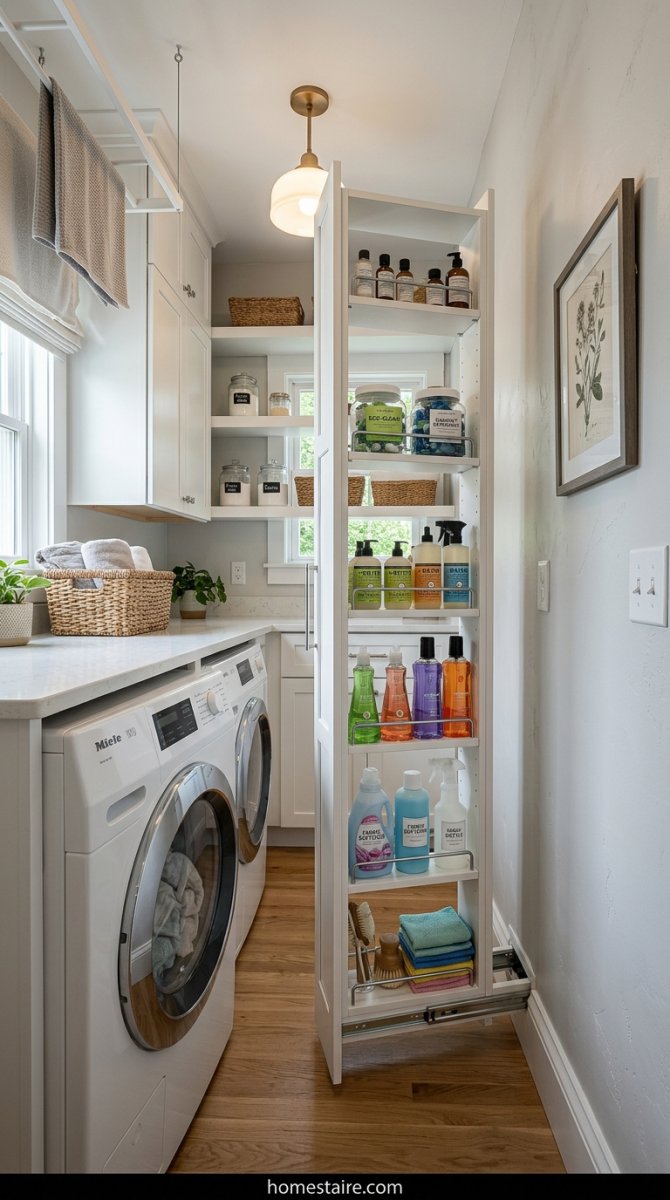
Most laundry rooms have that awkward eight-inch gap between the washer and the wall. It’s a literal black hole where socks go to die and dust bunnies throw parties.
I found a super slim pantry unit—originally meant for a tiny kitchen—and jammed it right in there. It’s basically a vertical drawer on wheels.
It holds all my tall spray bottles, the iron, and even that giant tub of OxiClean that never fits anywhere else. It’s tight, but it uses every single inch of floor space. If you can’t find a pre-made one, you can honestly just build a basic box with some plywood and some heavy-duty casters.
4. How I Saved 500 Dollars Just by Painting Old Oak
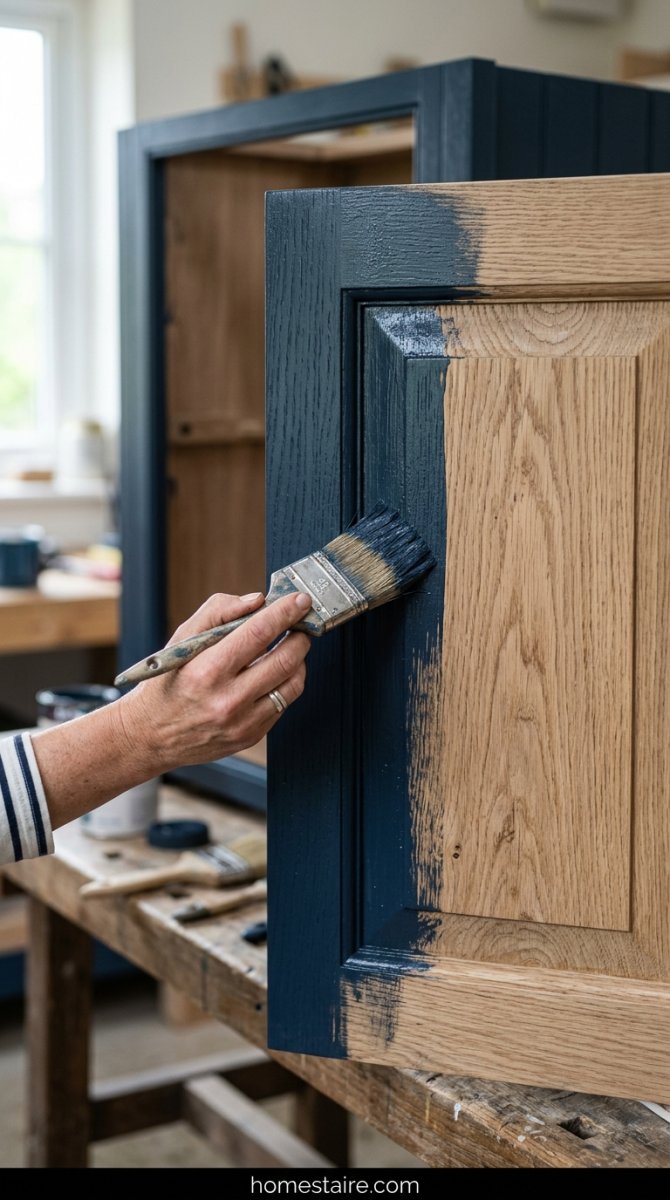
Everyone told me painting oak was a mistake because the grain “pokes through” the paint. Honestly? I don’t care. I wasn’t about to drop five hundred bucks on new doors just because some DIY blog said the texture was “dated.”
I used a high-quality bonding primer (don’t skip this or the paint will peel off in a week) and a deep, moody navy blue.
The transformation was insane. It took me three days and a lot of swearing, but it completely changed the room. The wood grain actually gives it a bit of character so it doesn’t look like cheap plastic. If you have those orange-looking cabinets from thirty years ago, just paint them. Trust me.
5. Using Raw Wood Crates to Hold My Detergent
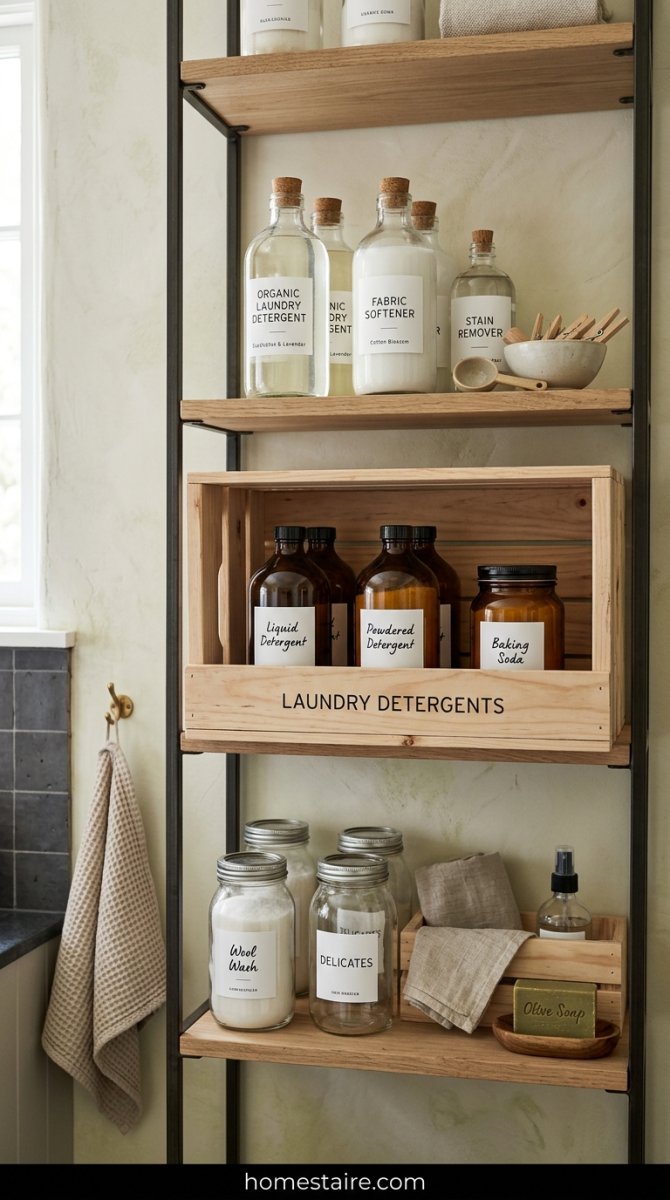
I spent way too much time staring at bright orange Tide bottles. They’re a total eyesore. I finally grabbed a few $10 raw wood crates from a craft store and shoved them right onto my open shelving to hide the neon plastic.
It looks intentional—not like I’m hiding my mess.
If you do this, make sure to sand the bottoms. I didn’t, and I scratched the hell out of my new paint job the first week. Don’t be like me.
6. Cramming Cabinets Right Up to the Ceiling
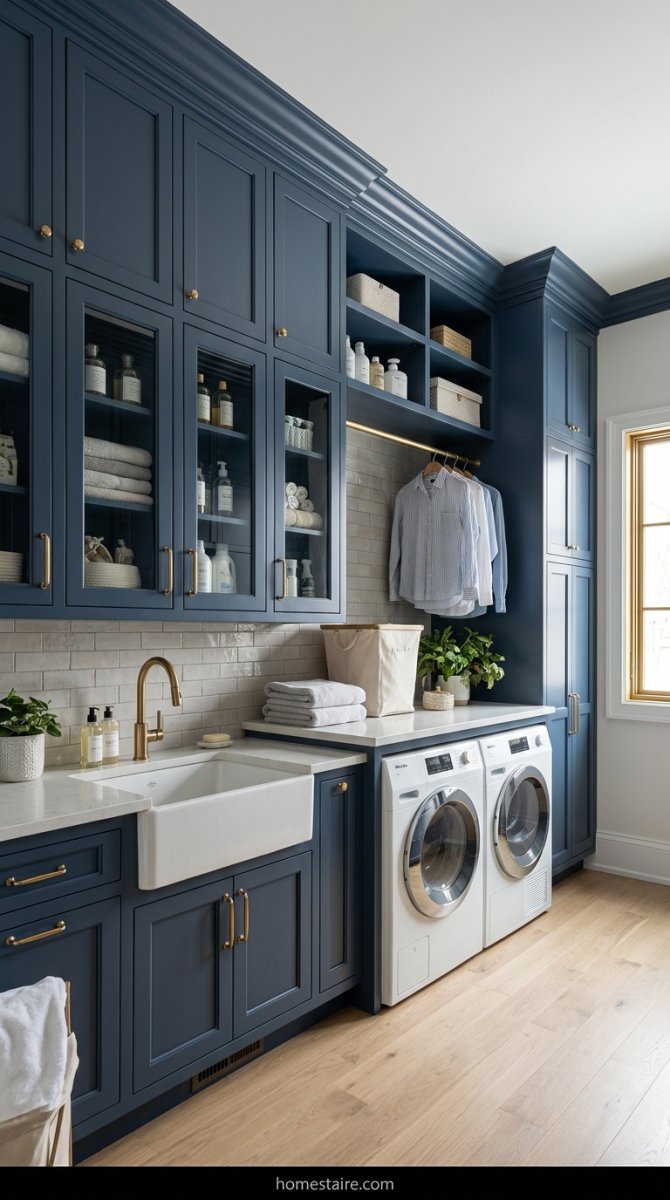
Dust bunnies love that six-inch gap above standard cabinets. I can’t stand it. So, I ignored the “standard” height and shoved my units straight to the ceiling.
Worth the neck strain.
Sure, I need a step stool to reach the top shelf, but that’s where I put the weird seasonal stuff like the giant turkey platter and Christmas linens. It makes the tiny room look way taller than it actually is, too.
7. Swapping Doors for Fabric Skirts to Save Cash

Cabinet doors are ridiculously overpriced. I actually ran out of money halfway through my renovation, so I just… didn’t buy the last two doors.
Instead, I grabbed a cheap tension rod and some thick, heavy linen fabric. It hides the ugly plumbing under the sink and gives off a “cottage” vibe instead of a “I’m broke” vibe. Plus, I don’t have to hear the cabinet door banging against the dryer every time I open it.
8. The Sneaky Pull-Out Drying Rack Hack
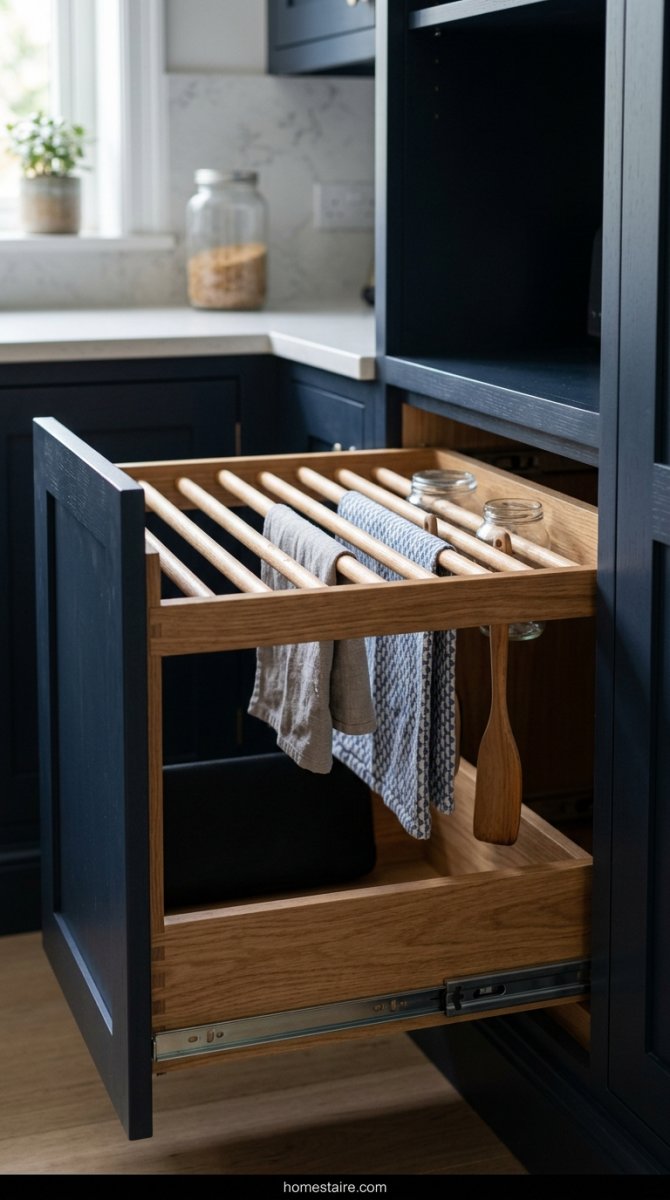
Floor-standing drying racks are the bane of my existence. I was constantly tripping over those metal legs in the dark while trying to reach the light switch.
I sacrificed one shallow drawer and installed a pull-out wooden rack inside the cabinet frame. It’s a total game changer for my shins. When I have a wet sweater, I pull it out. When it’s dry, the whole thing vanishes.
9. Shoving the Ugly Plastic Hampers Behind a Door
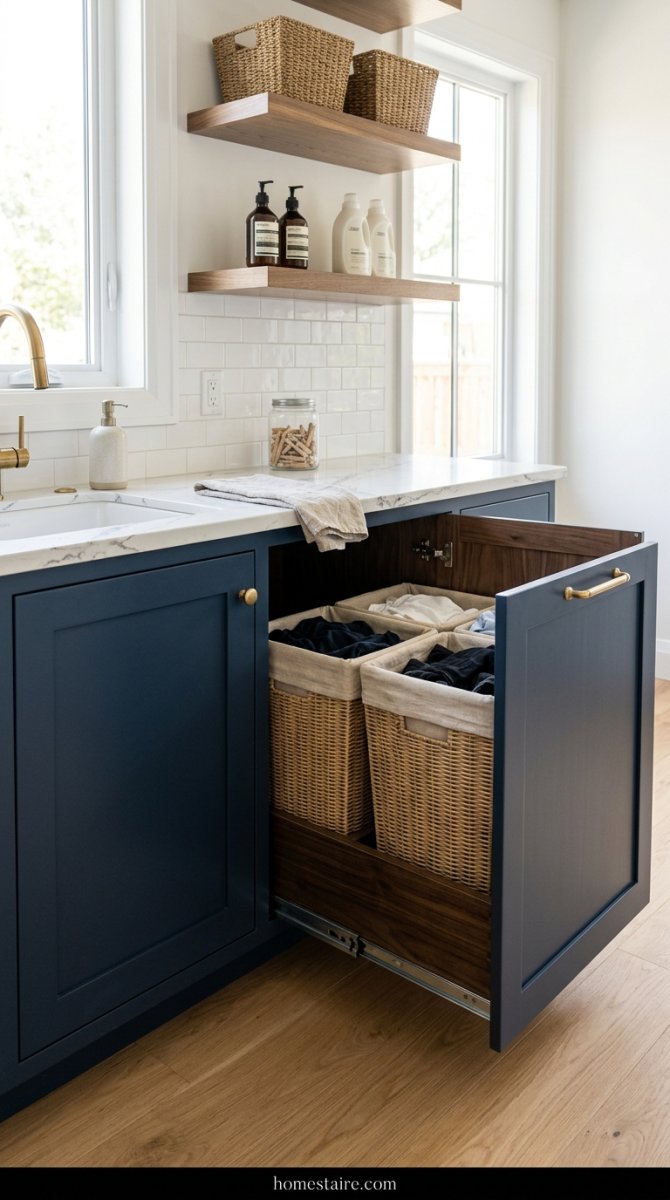
Nobody wants to look at your dirty socks. Seriously. I bought an extra-deep base cabinet specifically to hide two huge, cheap plastic hampers that I’ve had since college.
I had to rip out the middle shelf so they’d actually fit vertically, but it worked. I just toss the gross gym clothes in there and shut the door. Out of sight, out of mind—and finally out of the middle of the hallway.
10. Making Cheap Boxes Look Fancy with Matte Black Knobs
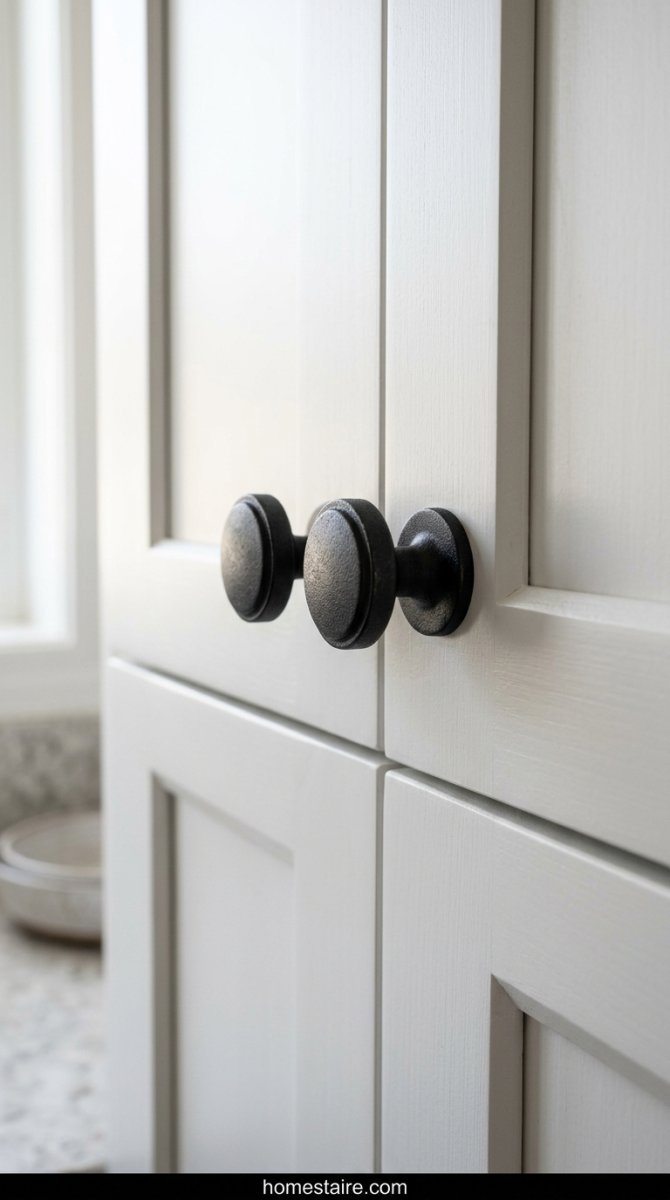
I bought the cheapest white boxes from the big box store and they looked sad. Like, “I live in a dorm” sad. The plastic silver knobs that came in the box were flimsy and felt like they’d snap off if I pulled too hard.
I swapped them for these chunky, matte black knobs I found on a clearance rack. It’s a total mind trick—your brain sees expensive-looking metal and suddenly that basic particle board feels like high-end cabinetry.
It cost me maybe twenty bucks for the whole room. Best money I ever spent.
11. Customizing Basic Stock Units from the Store

Most people just hang stock cabinets and call it a day, but that always looks unfinished to me. I hacked mine by adding a 1×4 piece of wood at the very bottom as a “toe kick” and then slapped on some thick baseboard.
Now, they look like they were built into the walls by a pro. I even added some cheap crown molding at the top to close the gap between the cabinet and the ceiling. My neighbors actually asked who my “contractor” was—I just laughed and pointed at my paint-stained hands.
Don’t leave those weird gaps. Fill them with trim and paint everything the same color.
12. Glass Fronts to Force Myself to Stay Organized

I’m naturally a total clutter magnet. If I can hide a mess behind a solid door, I’m going to do it. I decided to put glass inserts in two of my upper doors as a “scare tactic” for myself.
Now, if the detergent bottles are leaking or the lint pile is growing, I have to look at it every single time I walk in to do a load. It’s annoying, honestly. But it works!
It keeps me from shoving random junk into the cabinets just to get it out of sight. Plus, it makes the small room feel way less cramped.
13. Fixing the Useless Dead Space in the Corners

My laundry room has this deep, dark corner that used to be a graveyard for old sponges and weird chemicals I bought once and never used again. I hated reaching back there because I’d usually end up hitting my head on the door frame.
I finally got fed up and installed a rotating shelf—basically a giant Lazy Susan—right in that black hole.
Now I just spin the thing to find the spray bottle I need. No more crawling on the floor with a flashlight. If you have a corner cabinet, do this immediately. You’ll thank me later.
14. Turning the Top of My Machines into a Folding Table

Stop folding your clean clothes on top of the kitchen table or, worse, your bed. I grabbed a thick slab of project wood and fit it right across the top of my front-loading washer and dryer.
I didn’t even bolt it down—I just used some of those sticky rubber grips so the wood wouldn’t vibrate off during a heavy spin cycle.
It gives me a massive, flat surface to sort socks and fold shirts the second they come out of the dryer. It’s basically a six-foot-long countertop for the price of a single piece of wood. Seriously, why doesn’t everyone do this?
15. Going with Floating Units for an Airy Feel
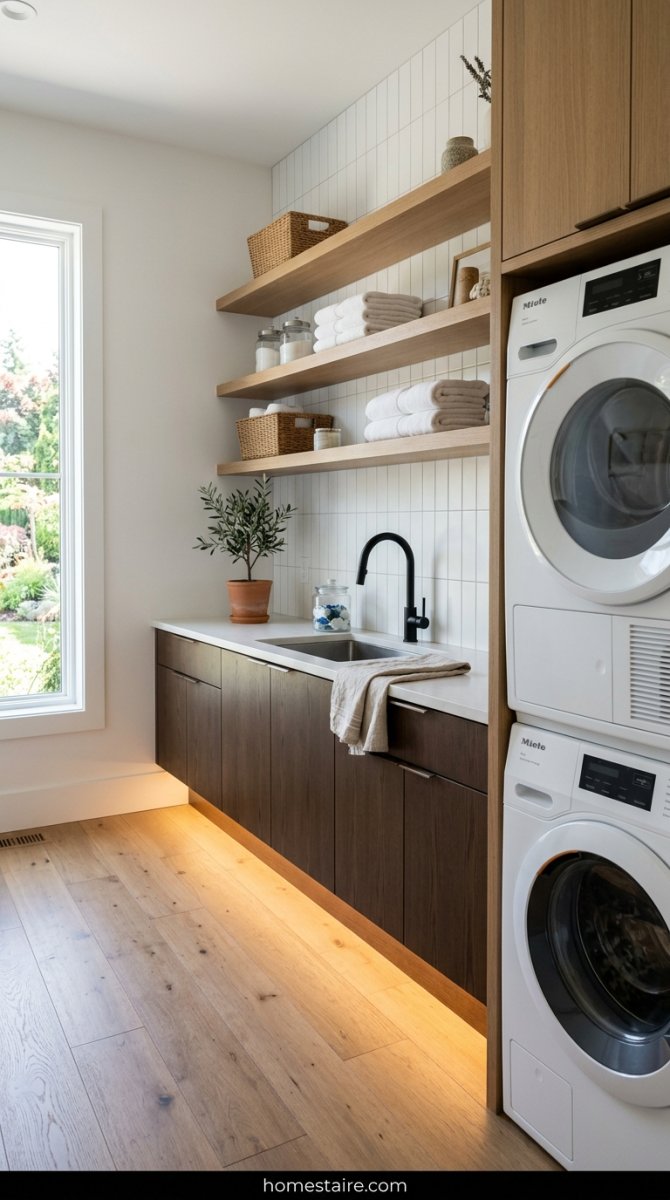
Floating units saved my back—literally. I was tired of bending over like a human pretzel just to find the extra OxiClean hiding at the back of a floor cabinet. I decided to bolt the boxes straight to the wall studs about a foot off the ground.
It feels light. It feels airy.
Plus, that gap underneath is a lifesaver for my robot vacuum. It used to get stuck on the toe-kicks of my old units, but now it just zips right under there and eats up all the stray lint. I even tucked some cheap battery-powered LED strips under the bottom edge. Now the floor glows like a spaceship, which makes doing the darks at 10 PM feel slightly less like a chore.
Conclusion
Honestly? Just go for it. I wasted years complaining about my “clutter dungeon” before I finally took a hammer to those old, sagging wire shelves. It wasn’t always a smooth process—I definitely stripped a few screws and had a minor meltdown over a paint color—but the result is a room that actually works for me.
My laundry room isn’t some fancy showroom you’d see in a magazine. It’s a messy, high-traffic workspace that finally stops my brain from itching every time I walk past it.
You don’t need a massive bank account to fix a cramped house. You just need a little bit of stubbornness and maybe a Saturday with nothing else to do. Seriously. Just buy some wood and start screwing things into the walls.